Create an Inbound
This guide provides a straightforward step-by-step process for creating an Inbound entry in the Syncfreight platform, making it essential for users who want to streamline their logistics operations. By following the instructions, users can efficiently input vehicle details, scan barcodes, and finalize the process, ensuring accurate tracking and management of their shipments. It's an invaluable resource for anyone looking to enhance their operational efficiency and minimize errors in their inbound logistics workflow.
-
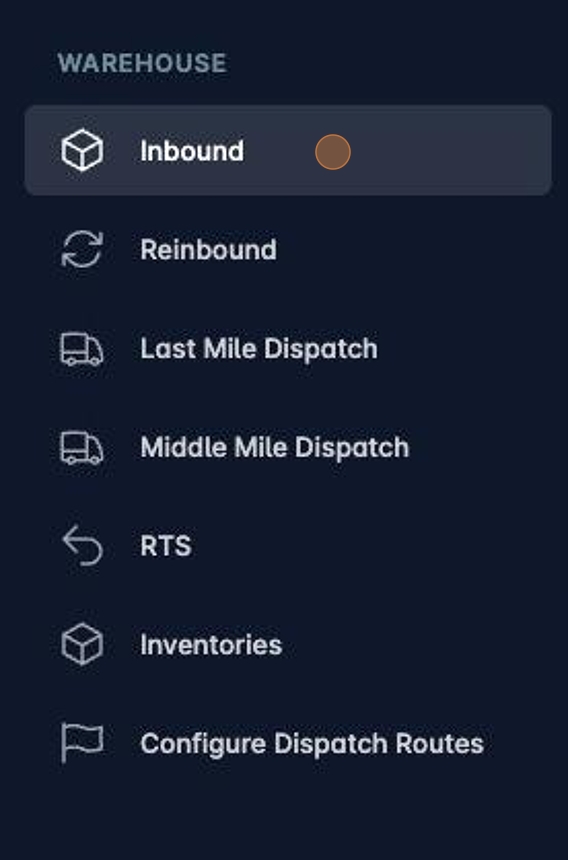
Navigate to [https://platform.syncfreight.com/#/warehouse/inbounds]
-
Or tap select it from the sidebar.
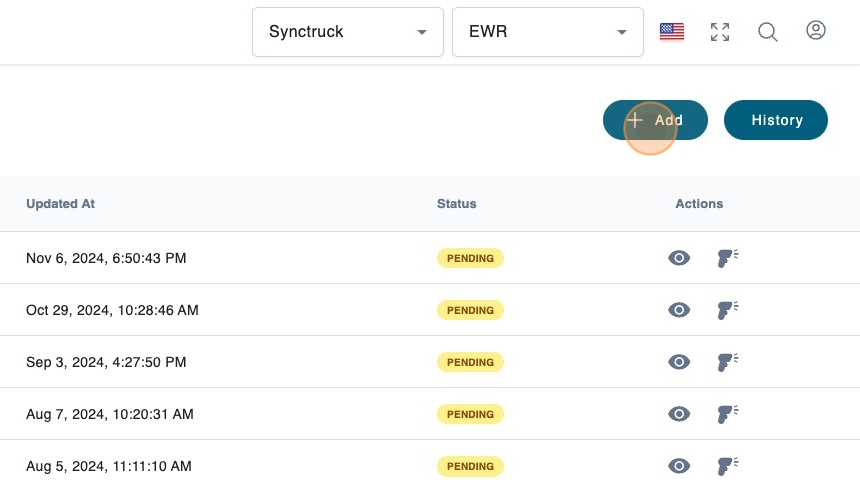
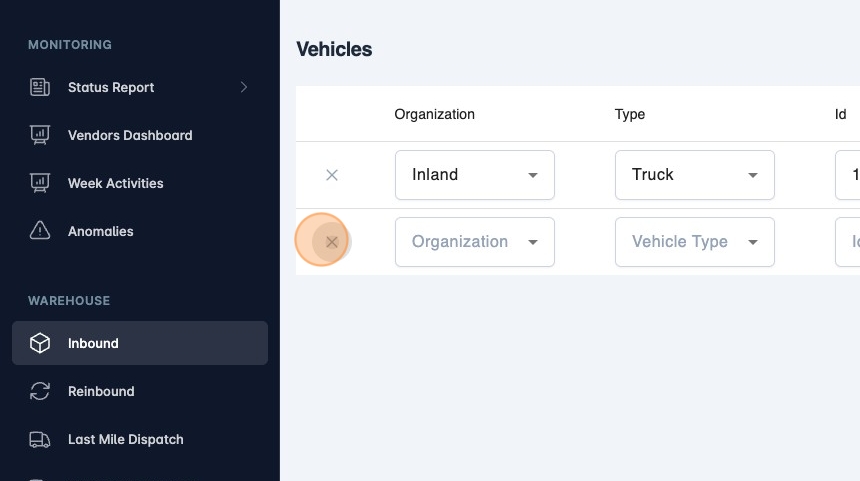
- Create a new Inbound by clicking "Add".
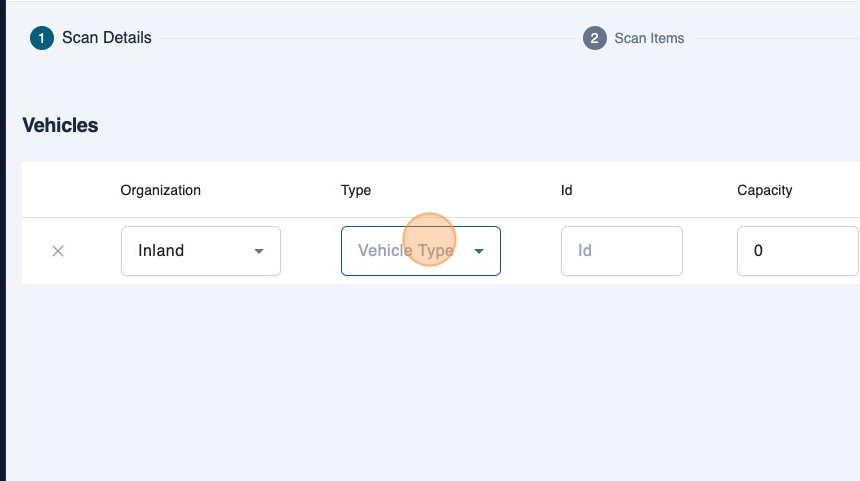
- Select the organization that is sending the truck.
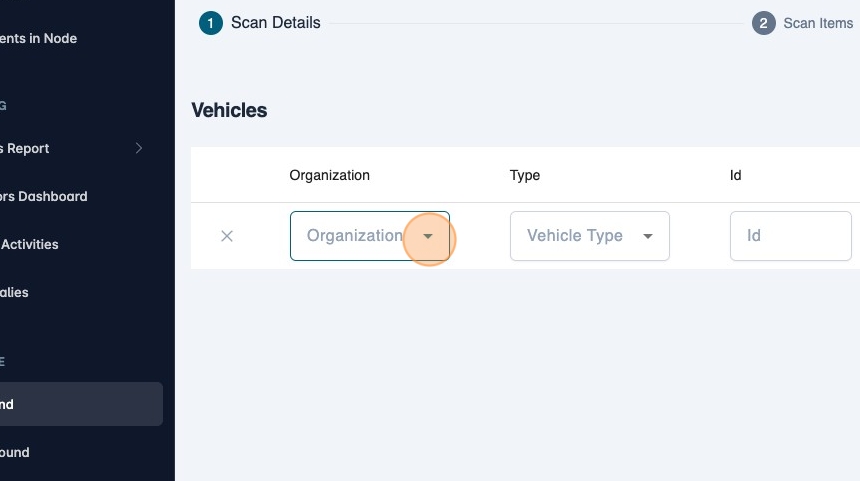
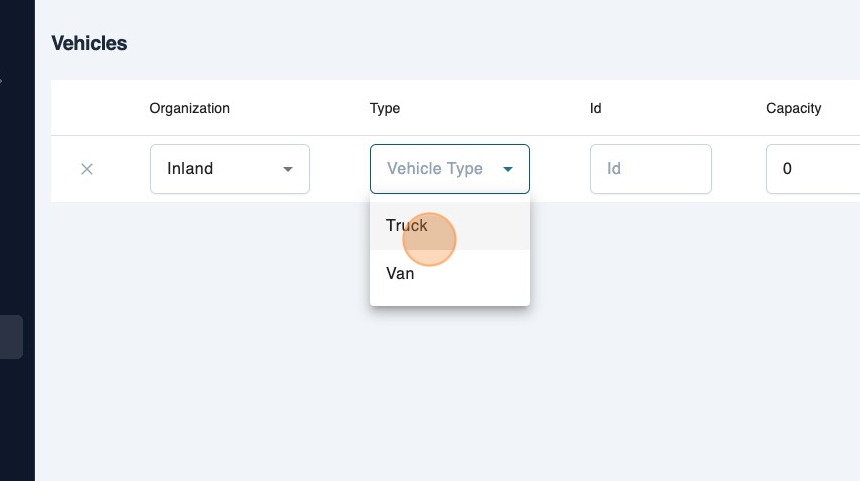
- Select the "Vehicle Type".
- You can pick either.
- Fill the rest of the fields that are required
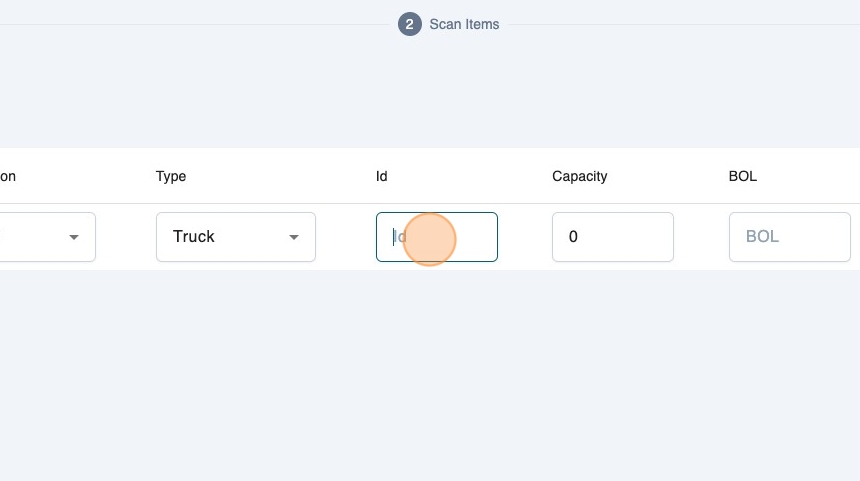
- Most of these fields can be used to get analytics at the end of the Inbound about each vehicle.
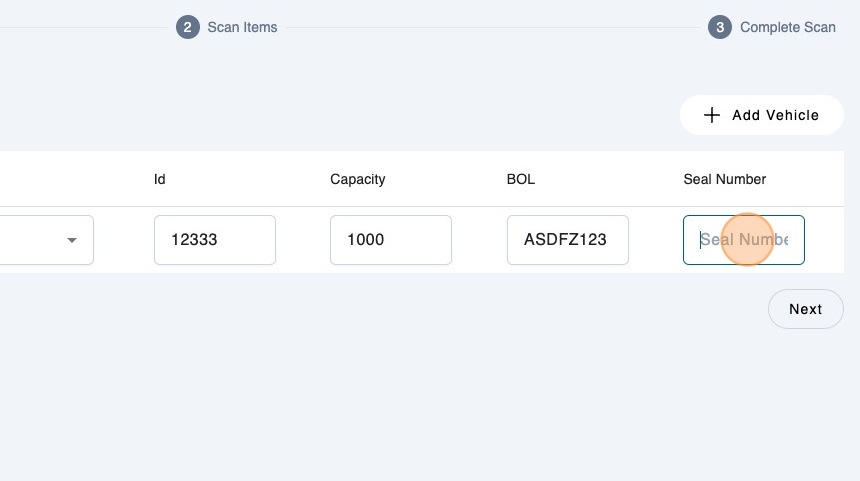
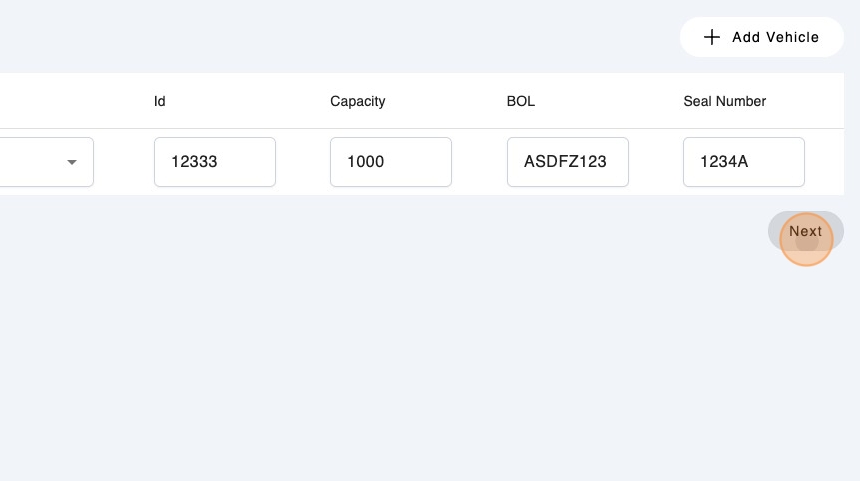
- You can always add another vehicle for this Inbound. Click "Add Vehicle"
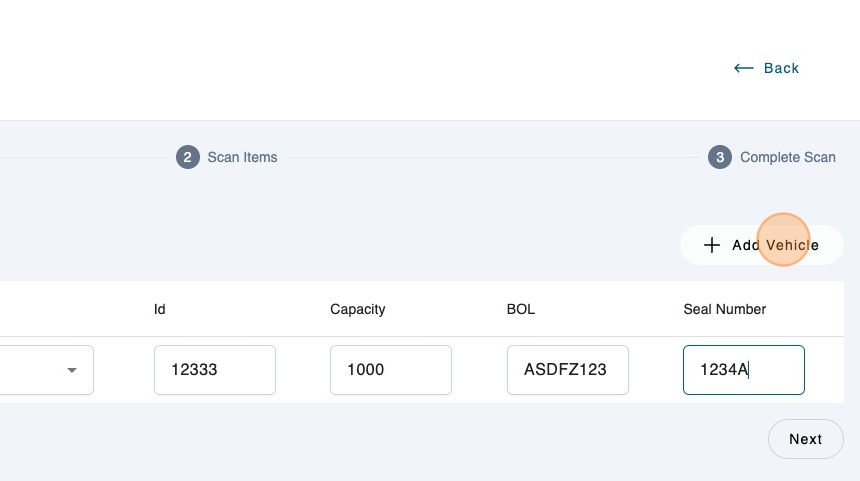
- Or remove them. By clicking here.
- Tap "Next", to continue scanning.
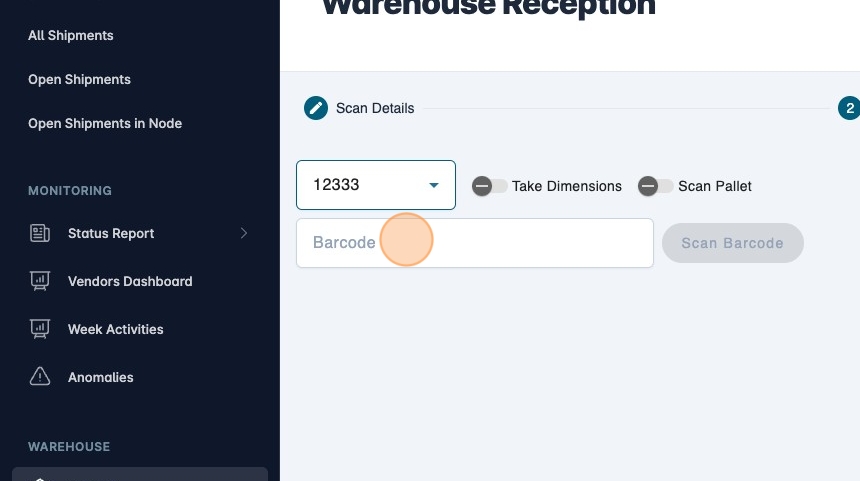
- Click "Select Vehicle" to select which vehicle is inserting shipments in your warehouse.
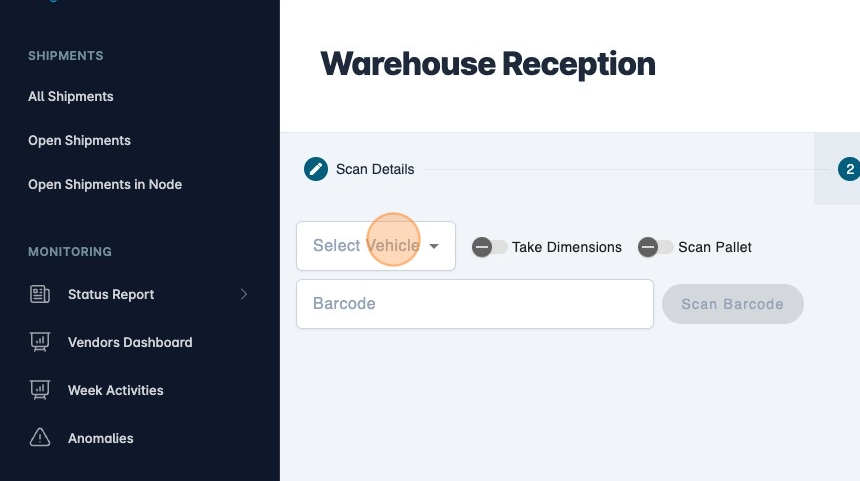
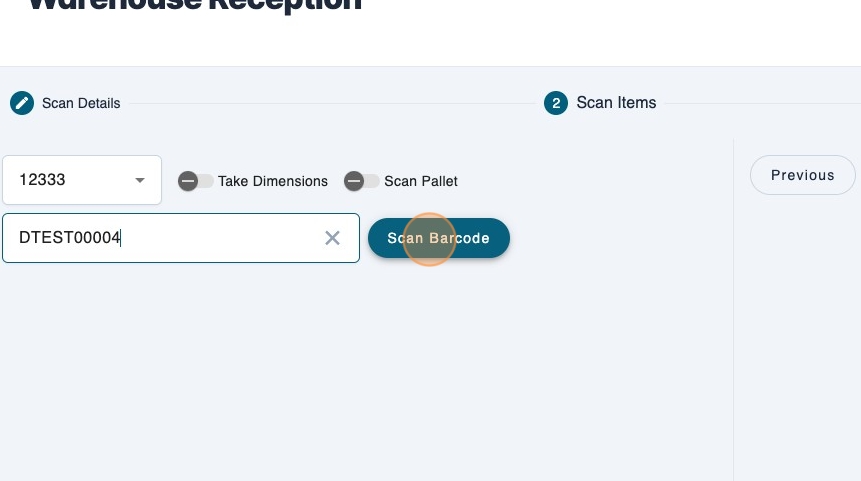
- Click the "Barcode" field to start scanning.
- Click "Scan Barcode" or press the "Enter" key. This will also work if using a barcode scanner.
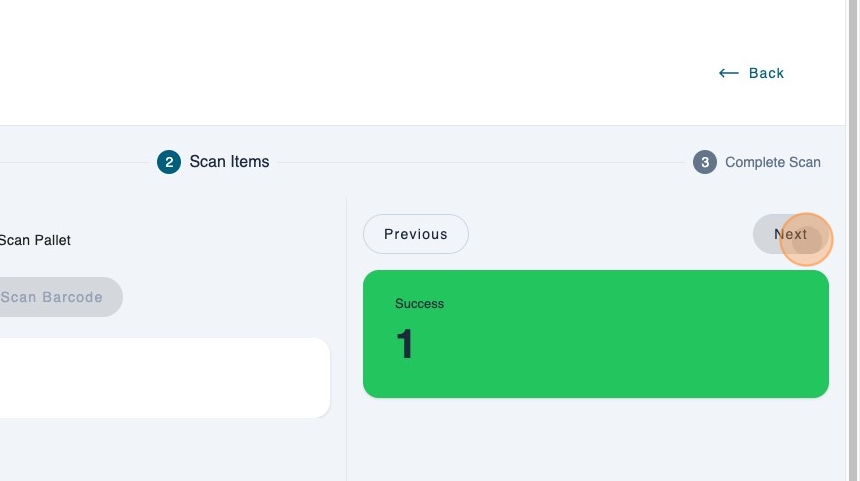
- You will see the results at the right.
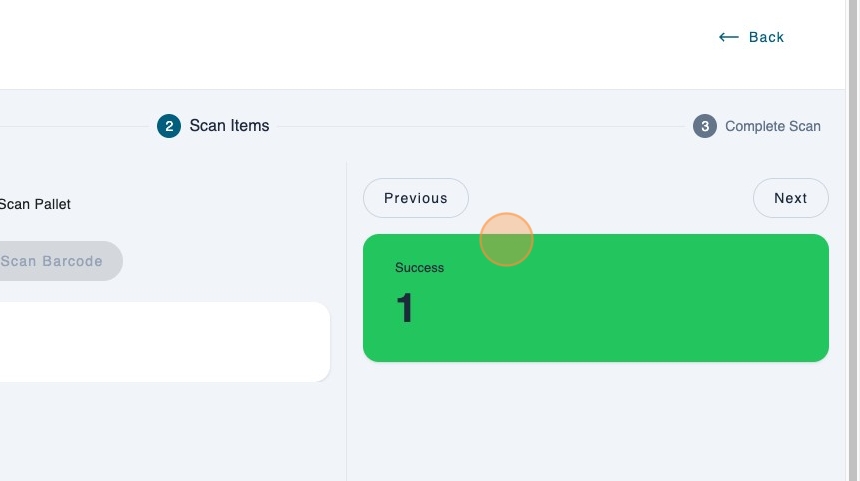
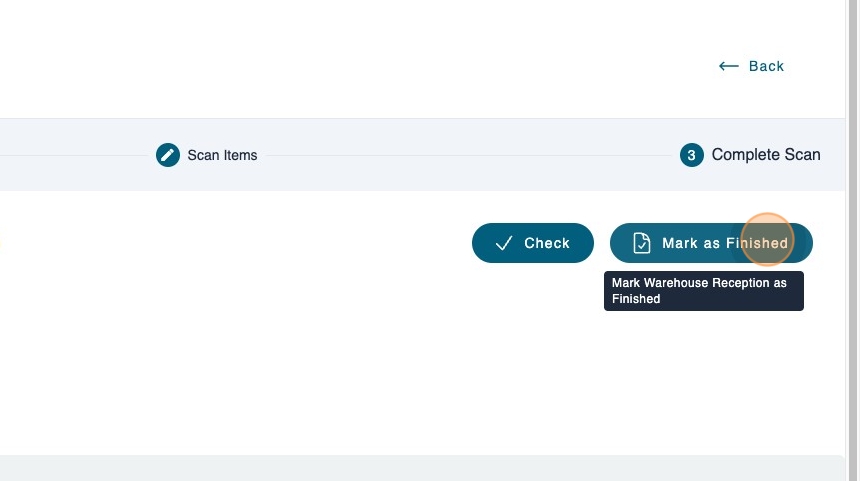
- When you want to finish the Inbound tap on next.
- Click "Mark as Finished".
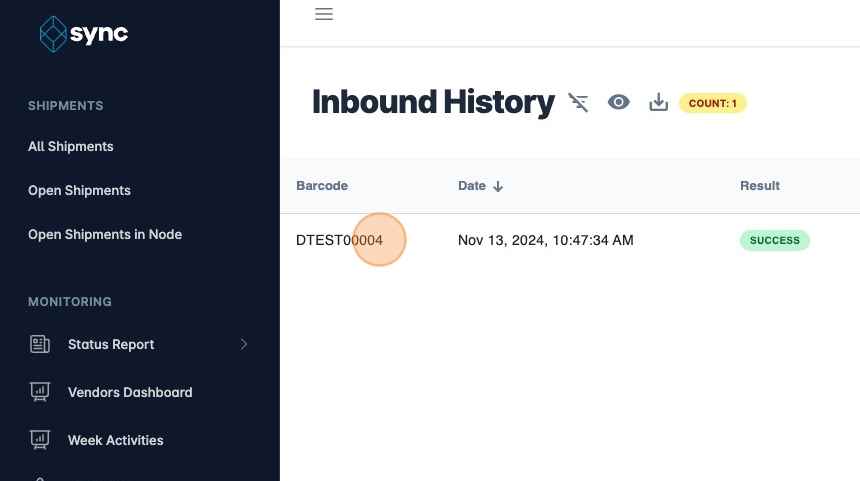
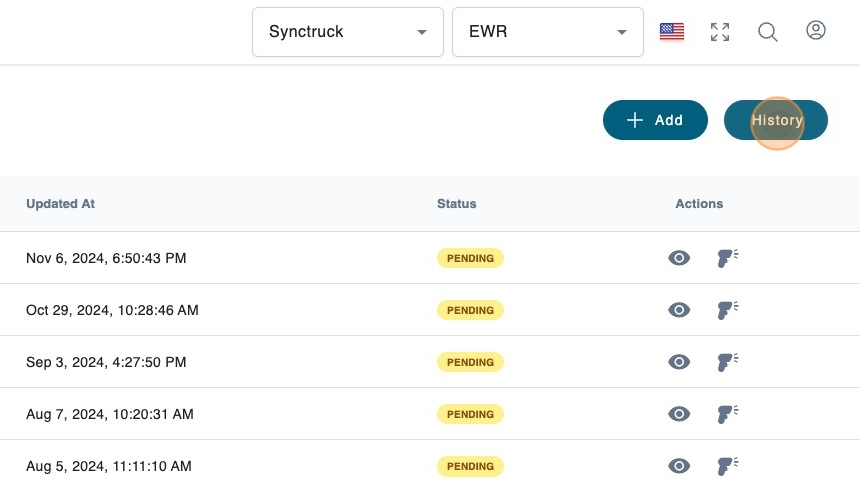
- Click "History" to check previous inbounds.
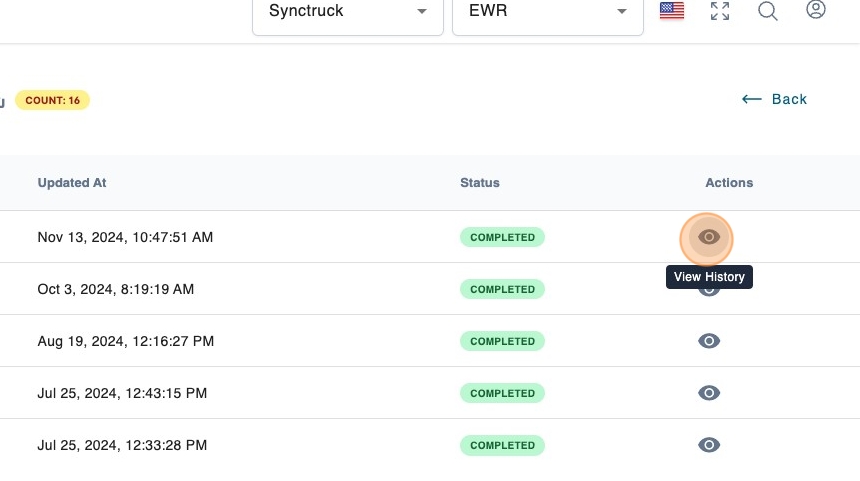
- You will see all completed Inbounds, to check the history for each Inbound type the eye icon.
- You can see the shipments that were scanned on this Inbound here.