Creating a Rate Plan in Sync Freight
Rate plans are useful to determine the price to charge or to pay for a delivered shipment. It affects the total price of invoices, whether the invoice is for a shipper, vendor or driver.
A rate plan can only calculate price for a single organization, that means that there is going to be a different rate plan for the shipments's shipper and the shipment's vendor.
Once a shipment gets delivered, the system automatically will calculate the price of the shipment. Your organization must have the setting "Is Billing" activated in order to calculate price for shipments. If your organization needs to generate invoices for drivers, the setting "Is Billing Drivers" must be activated. Then, the system attempt to calculate the price of the shipment for the shipper, vendor and driver invoice. If no rate plan is found, the system will NOT calculate the price.
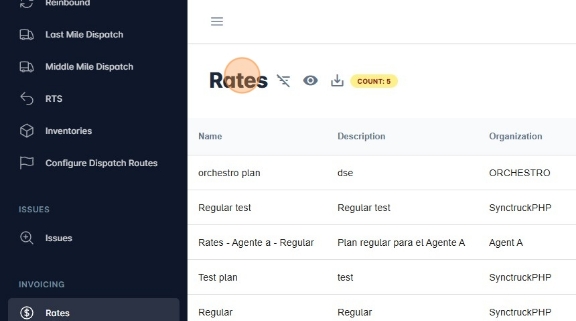
- Navigate to https://platform.syncfreight.com/#/plan or click "Rates" in the left sidebar. This is going to take you to the rates panel.
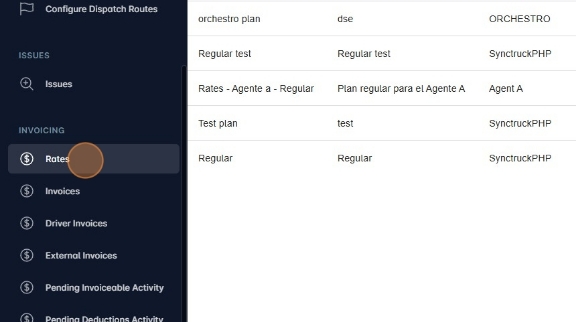
- The Rates panel shows the rate plans your organization has created. In the table you can see the general information of the rates (name, description, organization, start date, end date and enabled). This panel uses the dynamic table, so you can filter and sort the table exactly the same as the other palces where the dynamic table is.
- To create a new rate plan, click "Add".
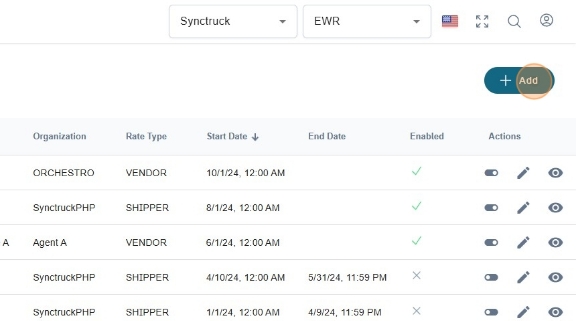
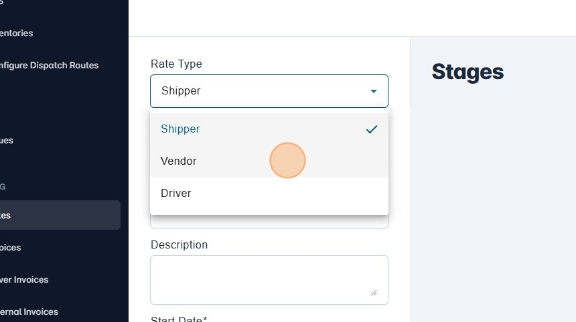
- First, you neet to set the general information for the rate plan. This is the rate type, organization, title, description, etc.

- The rate type refers to the type of organization that this rate is going to be for. The rate type can be "Shipper", "Vendor" or "Driver".
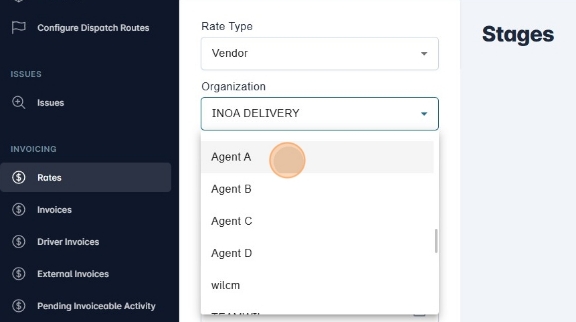
- The organization is going to depend on the rate type. If the rate type selected was "Vendor", only vendor organizations are going to be available to select as the organization in the rate form.
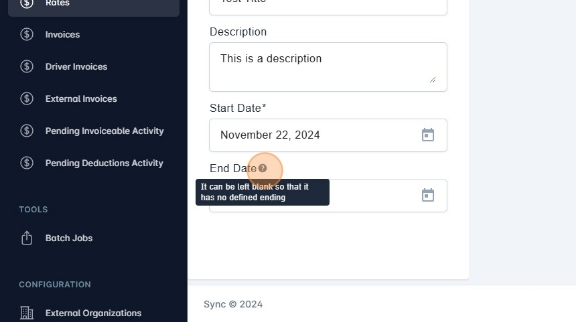
- Set the rate title and description.
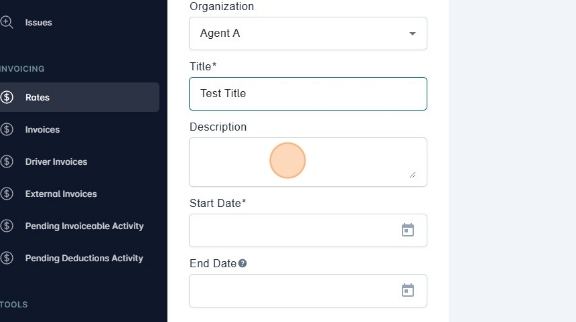
- The start and end date inputs are very important for the rate because, when a package gets delivered, the system is going to search for a rate plan with a date range that covers the date when the package was delivered.
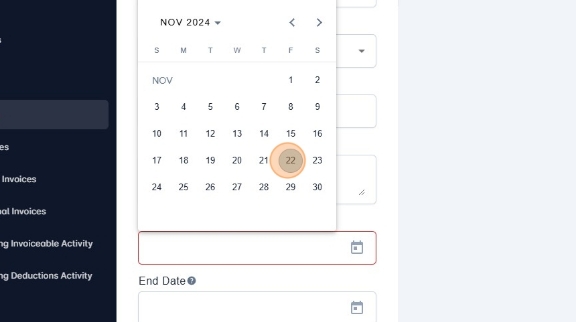
- The end date is optional. If no end date is set, the system will assume that the rate will be active from the start date onwards.
Stages
Plan stages are steps of instructions and validations that must be gone through to determine the price of a package. There is an indeterminate number of stages for each rate plan since the user is free to choose. Each stage can have a block assigned to it.
Blocks
Blocks are instructions to manipulate the price of a shipment. They are in charge of taking a value and validate a condition, if the condition is met, they modify the value provided. Blocks can be nested, meaning that if a block's condition is met and it has a nested block, the process flow for calculating the price goes through the first block and reaches its nested block, and so on.
Each block has a price value. This price can modify the price of the shipment. This block price can be The price must be a number of two decimals maximum and it can be "Fixed", "Fixed Add" or "Percentage". The "Fixed" option will erease the total value and set the block price as the new total. The "Fixed Add" option will increase (or decrease) the total value with the block price value. The "Percentage" option will take the price value of the block as a percentage and will add or substract from the total price of the shipment.
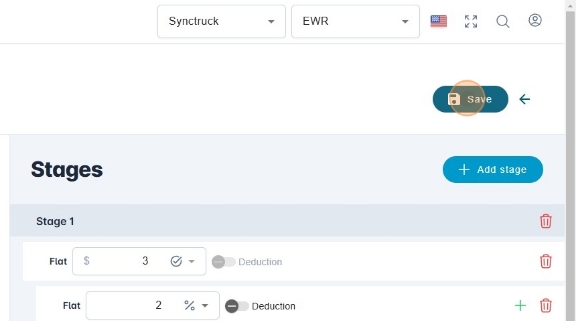
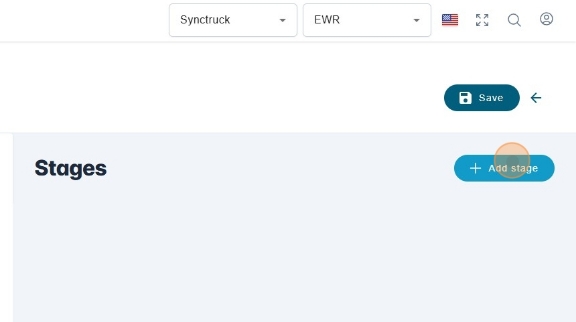
- To create a new stage, click "Add Stage".
- After a new stage is added, the stage will be empty. To crete a block, click "Add Block". If you need to delete the stage, you can click the trash icon.
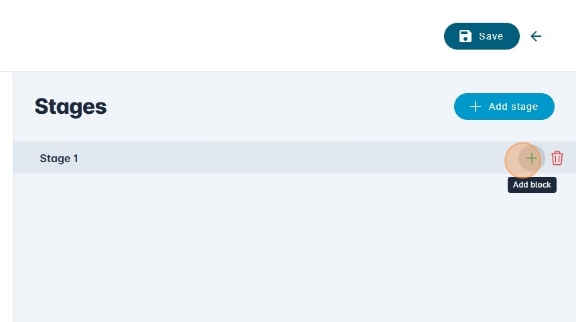
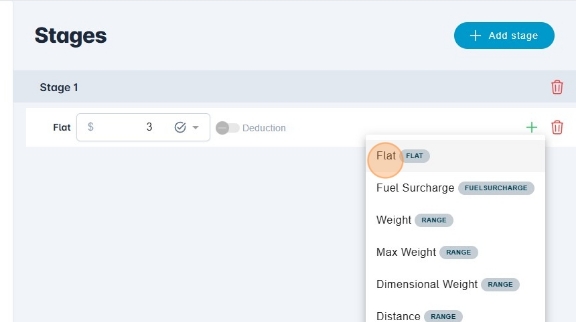
- Before creating a block, you will need to select the block type.
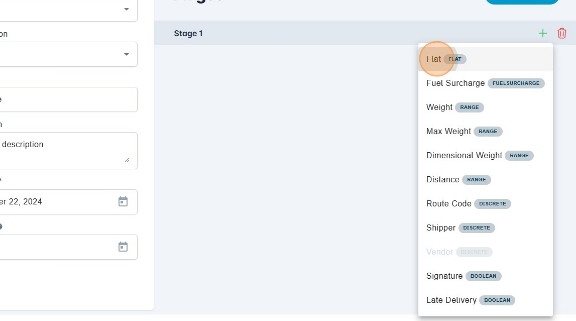
Block Types
Blocks have types. Based on the type, the block will validate a specific condition. The block types can be:
Flat Block
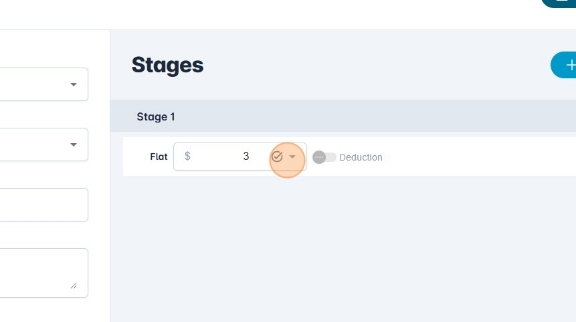
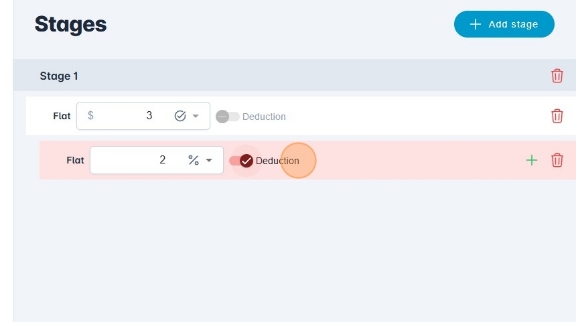
Flat blocks don't validate any conditions. The flow will automatically enter the block. The price input lets you choose the value to be "Fixed", "Fixed Add" or "Percentage". It's important to mention that the first flat block of the rate needs to be a fixed block, since it is going to be the base price.
- As metioned before, blocks can be nested, so you could createa child block for the flat block.
- You could create another flat block as a child. The flow would enter both blocks.
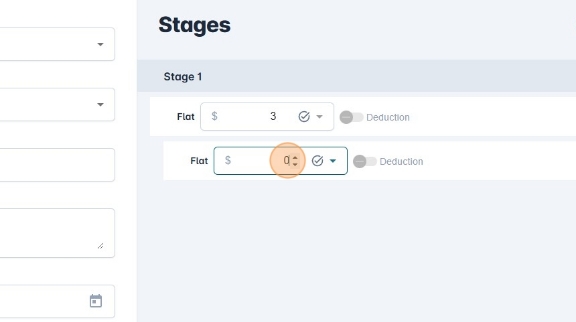
- After the first flat block, you are free to choose any other price type for the other blocks.
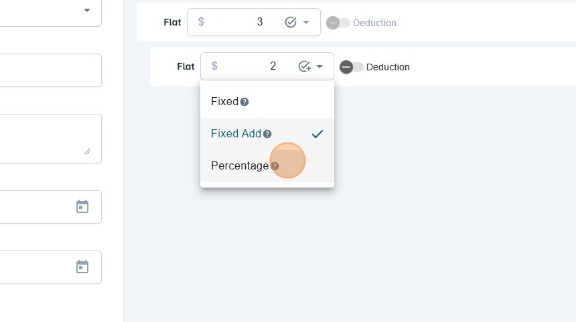
- You can also define whether the price is going to be a deduction or not. It's important to mention that a fixed price can never be a deduction.
Range Blocks
Range blocks will take an attribute of a shipment that can be quantified and validate if the value is between a certain range. Range blocks are designed so that every possible value can fall between the defined ranges. Each range has a minimum and maximum value. By default, the first range will have the minimun value set as 0 and the last range will not have a maximum value. You can create more ranges and the system will automatically fix the ranges so that every possible value is covered.
Each range act as a block, so it has the same properties mentioned before. It has a price, price type, deduction flag, and could have a child block.
The properites that can be used for a range block are:
- Weight: The actual physical weight of the shipment.
- Dimensional Weight: Is calculated based on the dimensions of the shipment (height, width, length) and the dimensional factor configured in the organization settings.
- Max Weight: The highest value between the real weight and the dimensional weight.
- At first, there are going to be two ranges. You can create more if necessary.
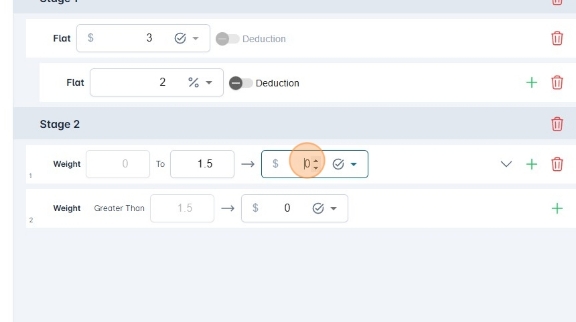
- The price type for each range can be "Fixed", "Fixed Add" or "Percentage".

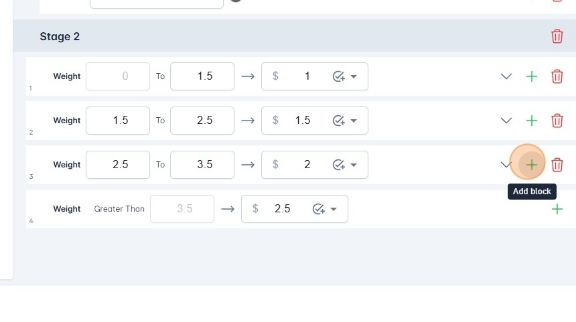
- You can create more ranges if you click the arrow pointing down, or delete a range if you click the trash icon.

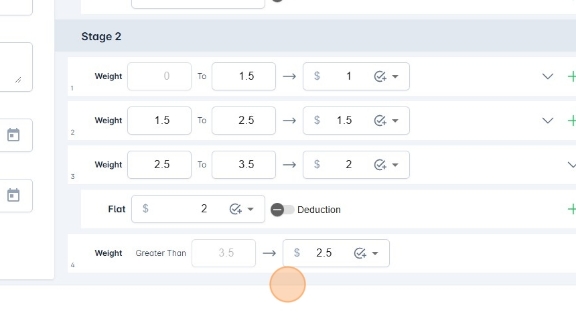
- You can create a child block for a range clicking the plus icon.
- The child block is another block with the same properties mentioned before.
Discrete Blocks
Discrete blocks take a non-quantified property of the shipment and validates that the property is equal to a specific value. Discrete blocks are designed so that no matter what the propery is, the flow is going to follow one of the discrete blocks. By default, the last discrete value of a discrete block is "else", meaning that if the property is not one of the possible values defined, the flow will take the "else" block.
The properties that can be used for a discrete block are:
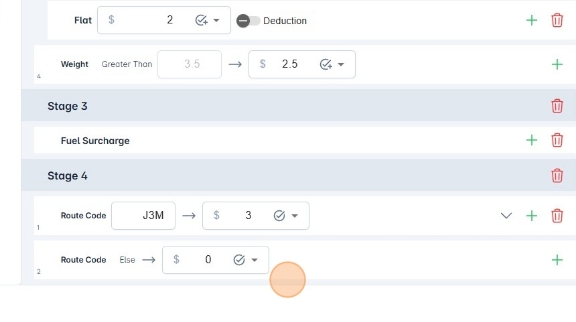
- Route Code: The shipment's route code based on its postal code.
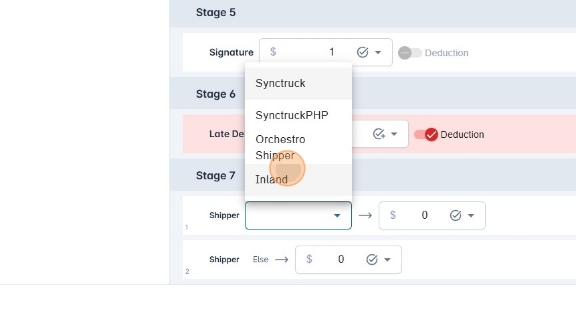
- Shipper: If the rate plan is designed for a vendor, the shipper discrete block will be available. It validates whether the shipment's shipper is a specific shipper or not.
- Vendor: If the rate plan is designed for a shippper, the vendor discrete block will be available. It validates whether the shipment's vendor is a specific vendor or not.
- In the case of a route code discrete block, each discrete block will have a text box where you can introduce the route code you want to validate.
- In the case of the shipper and vendor discrete blocks, a select box will be available for you to choose which shipper or vendor to validate.
Boolean Blocks Boolean blocks only validate true/false properties. If the condition is true, the flow will follow the boolean block. Boolean block have the same properties as the other blocks (price, price type, deduction, child blocks).
The properties taht can be used for boolean bloks are:
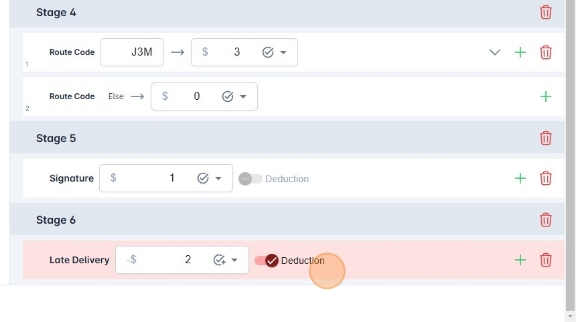
- Late Delivery: Whether the delivery event happened three or more days later than the dispatch date.
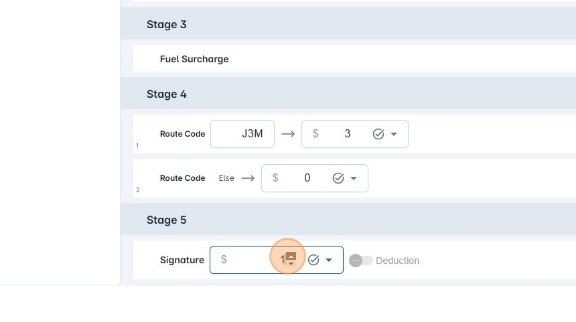
- Signature: Whether the client signed that they received the shipment.
- You could use the signature block if you need the price to be changed if the clint signed or not.
- You could use the late delivery block if you need the price to be changed if the delivery was late.
Fuel Surcharge Block
This block only charges the fuel surcharge of the present week to the total. It doesn't need a price or a price type.
- To save changes and create the rate plan, click "Save".