Create a Last Mile Dispatch
A last mile dispatch can be created if there is at least one shipment in your Warehouse Node with the warehouse status. You also need to configure the dispatch route codes in the system settings so that the system can automatically infer which shipments are going to which vendor.
note
Dispatches are designed to last 24 hours. If a shipment is scanned after this period, it will not be included in the dispatch. We recommend finishing the dispatch process when the vendor has left the warehouse.
note
View the Dispatch Routes guide to learn how to configure the dispatch route codes.
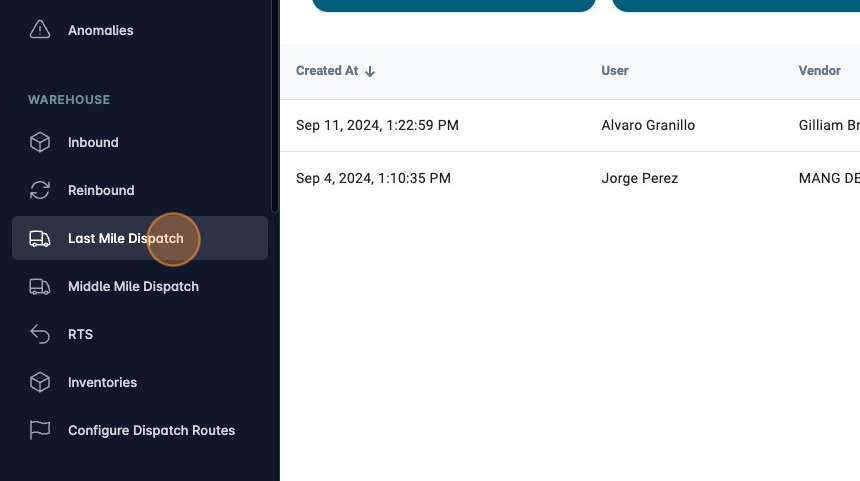
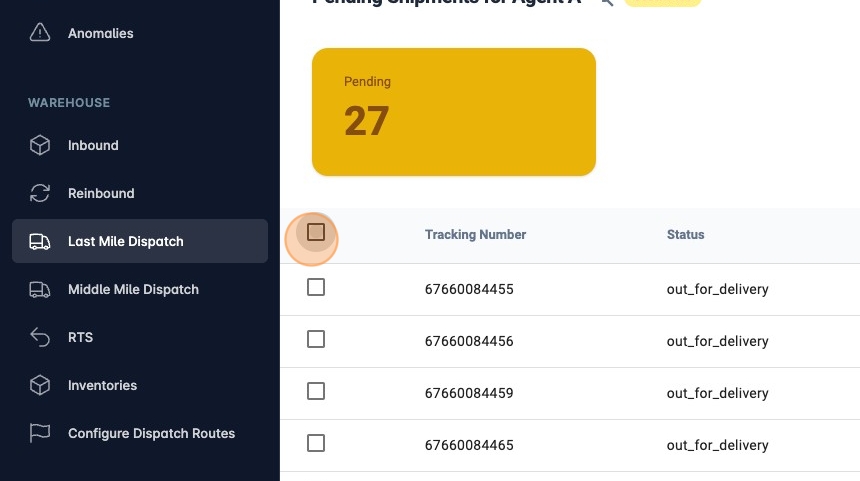
- Navigate to [https://platform.syncfreight.com/#/warehouse/lm-dispatches] or Click "Last Mile Dispatch" in the left sidebar.
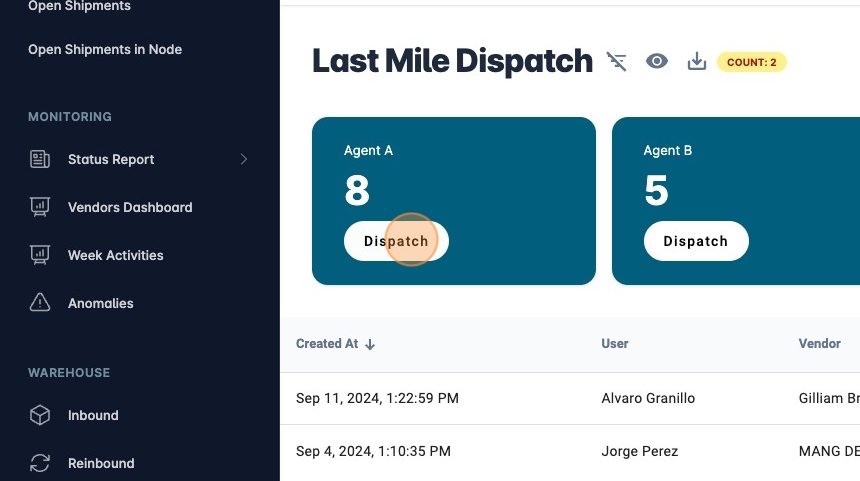
- Select the Vendor you want to dispatch and click "Dispatch".
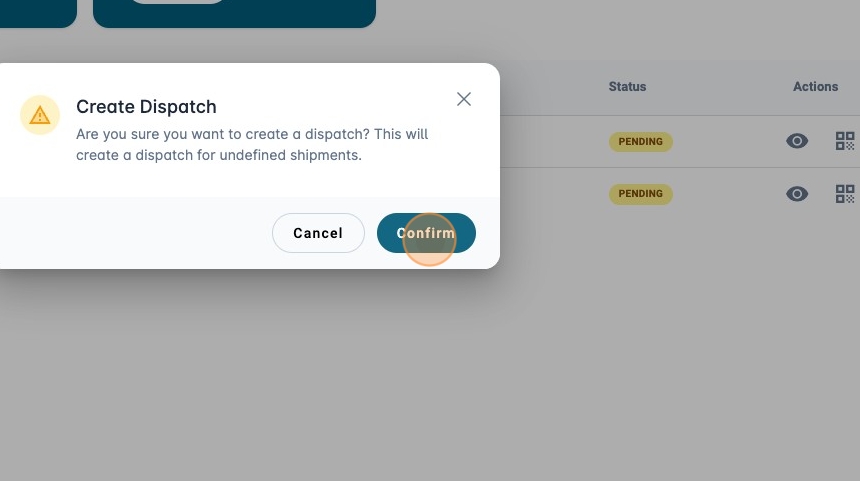
- Confirm the Dispatch creation.
- In the
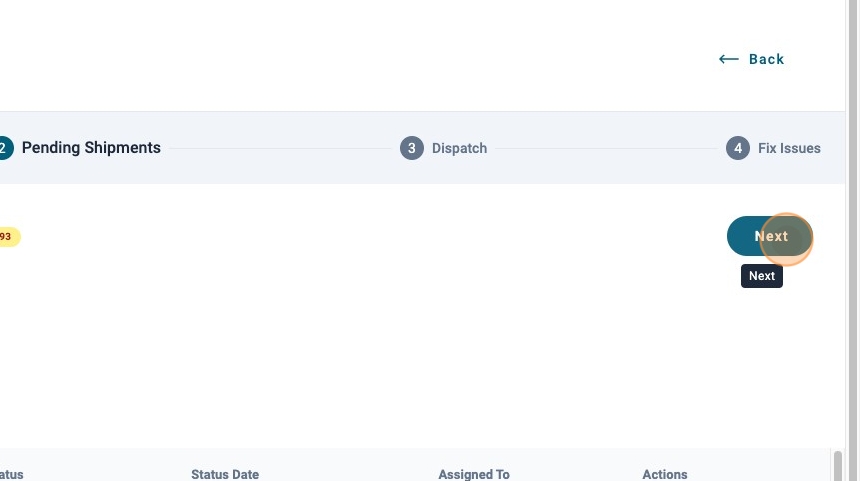
stage 1of the dispatch, you can add additional shipments to the dispatch or add another route code. This can be useful if one Vendor is going to handle a route code that is not in the system settings. When ready, click "Next".
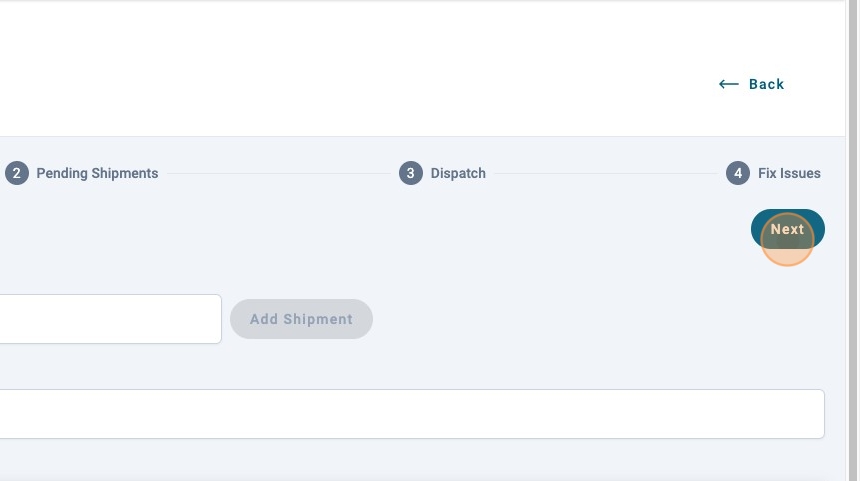
- In the
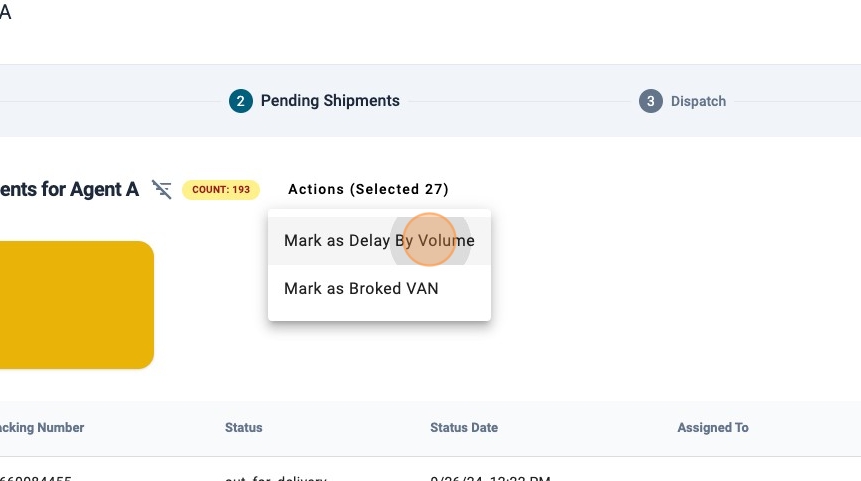
stage 2you will see the shipments that are still on the Vendor custody, here the vendor can let you know why a shipment is delayed. You can select this reason by clicking on the shipment. When ready, click "Next".
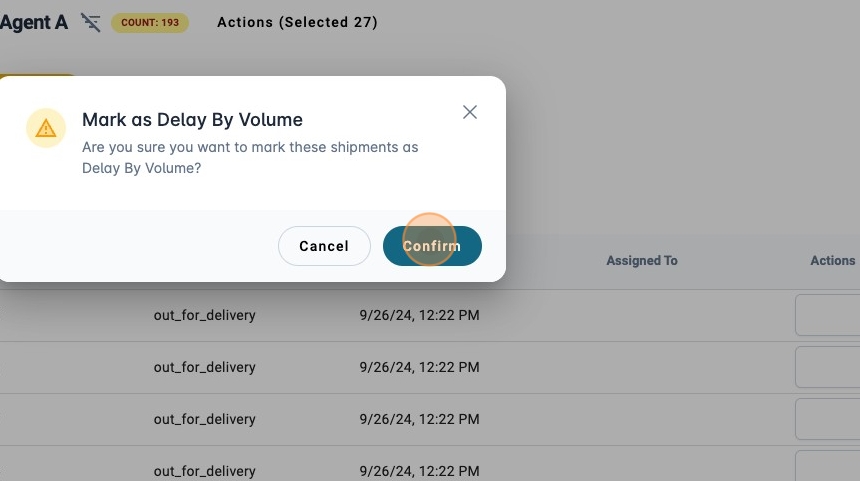
- In this case we are going to mark the shipment as delayed by volume. Click "Mark as Delay By Volume".
- Click "Confirm"
- Click "Next"
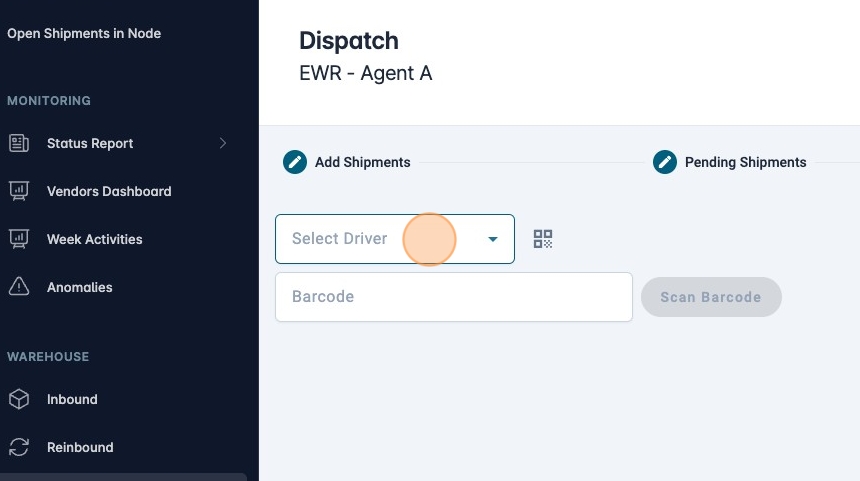
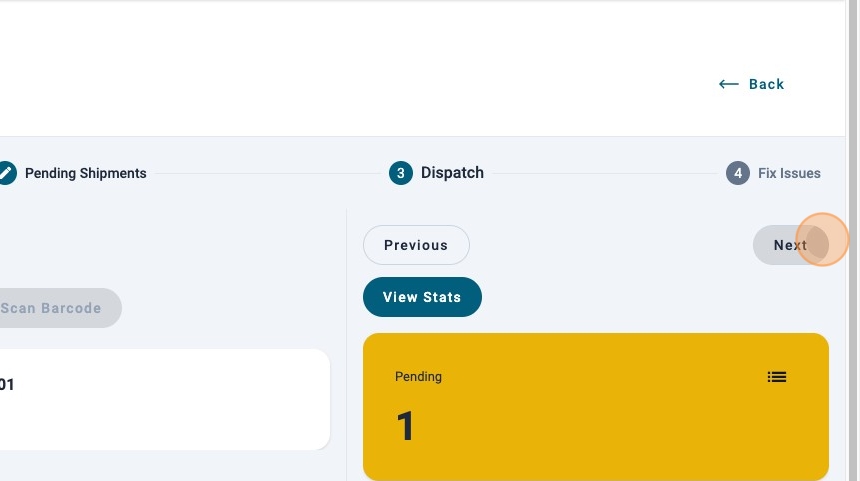
- In
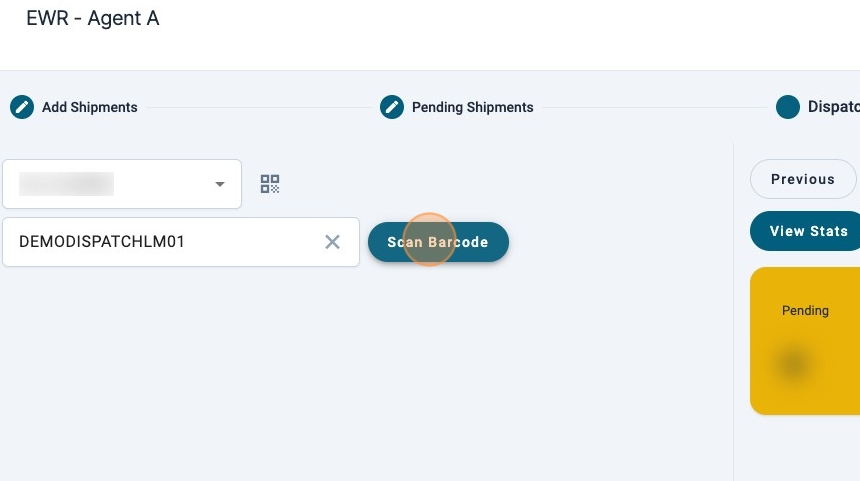
stage 3select a driver and start scanning.
- Click "Scan Barcode" or press "Enter" to scan the barcode.
- You will see the list of shipments that are assigned to each driver on the right.
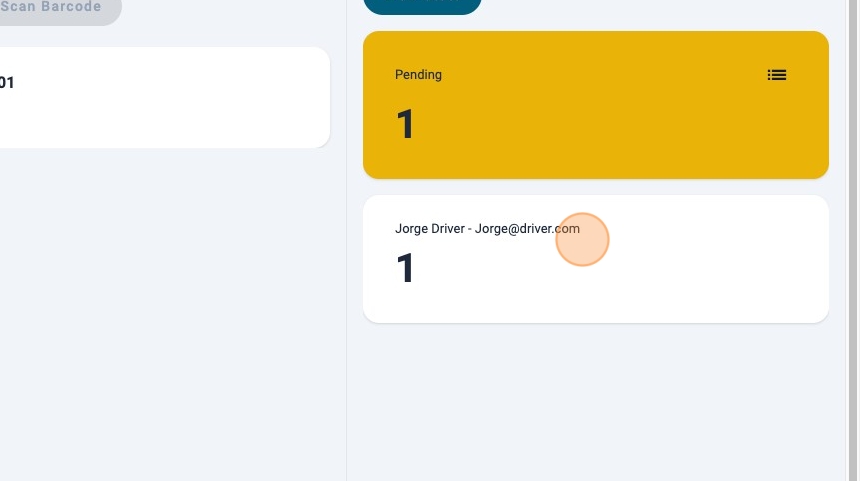
- When you are done scanning, click "Next".
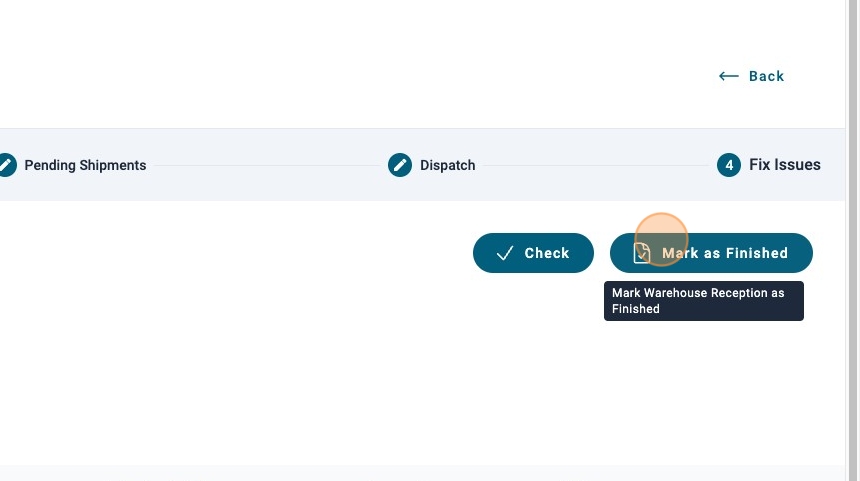
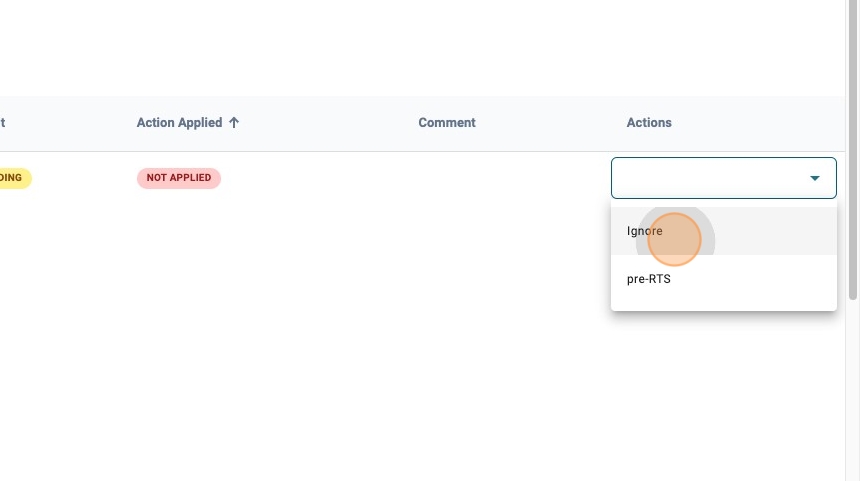
- In
stage 4you can see the shipments that are still pending to be scanned. You will need to provide a reason why they have not been scanned.
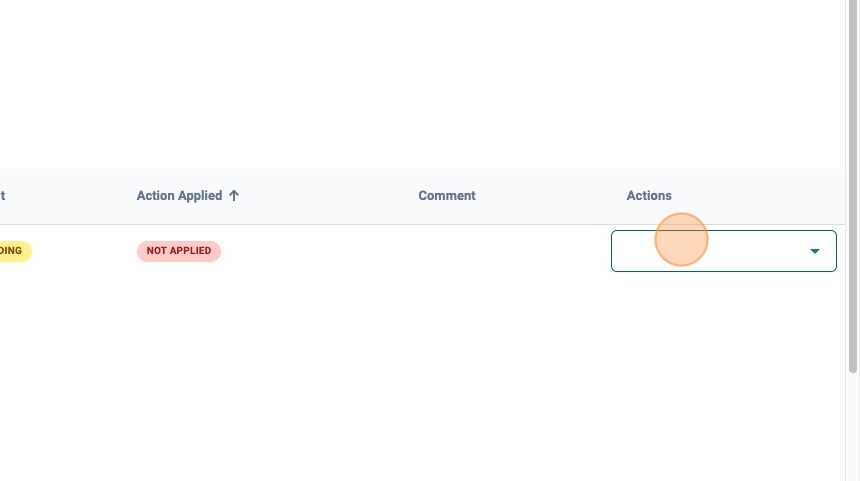
- In this example, we have choosen "Ignore".
- Finish the dispatch by clicking "Mark as Finished".