Creating a Dispatch and Sending Shipment Information
A middle mile dispatch can be created if there is at least one shipment in your Warehouse with the warehouse status. You also need to configure the dispatch route codes in the system settings so that the system can automatically infer which shipments are going to which middle mile station.
Dispatches are designed to last 24 hours. If a shipment is scanned after this period, it will not be included in the dispatch.
View the Dispatch Routes guide to learn how to configure the dispatch route codes.
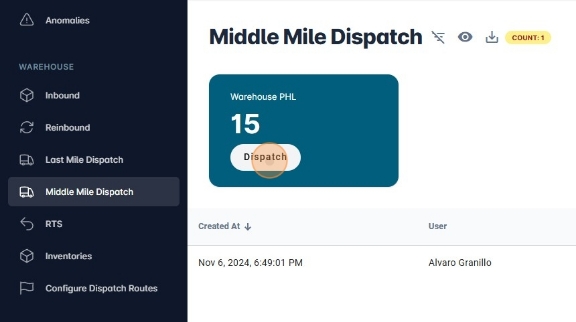
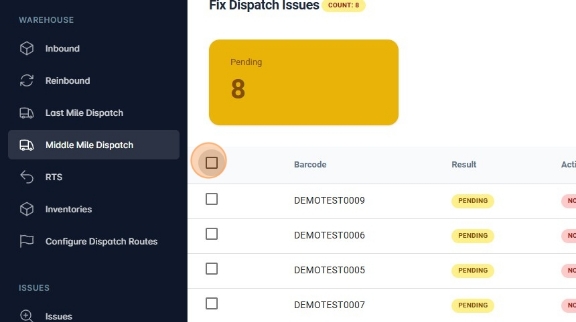
- Navigate to https://platform.syncfreight.com/#/warehouse/mm-dispatches Click "Middle Mile Dispatch" in the left sidebar.
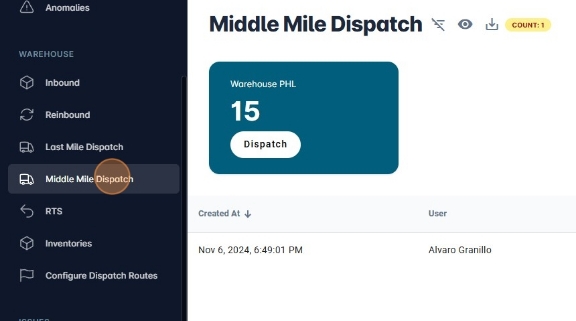
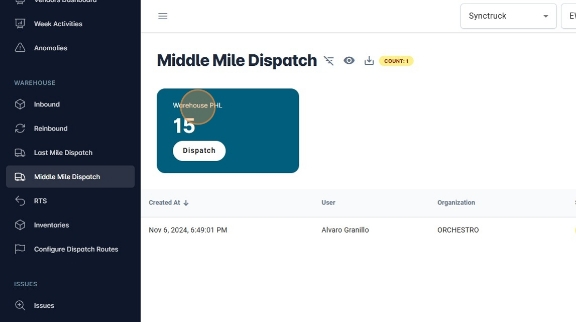
- On the upper side of the screen will appear cards with the name of the middle mile stations available to create a dispatch. If the middle mile stations you are looking for is not appearing, perhaps there is already a middle mile dispatch open and it needs to finish in order to create a new one to the same station.
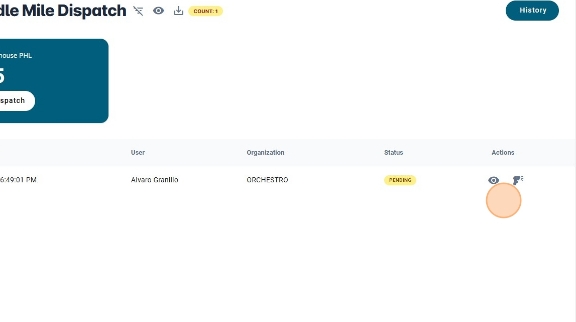
- In the table, you will see the active middle mile dispatches. In case you want to see their summary, you can click the eye button, which is going to take you to the summary page. In case you want to keep scanning into the dispatch, you can click the scan icon.
- Each card in the middle mile dispatch panel will have a number. The number references the amount of shipments with the
warehousestatus that can be dispatched to the middle mile station. In the following case, 15 shipments can be dispatched to PHL.
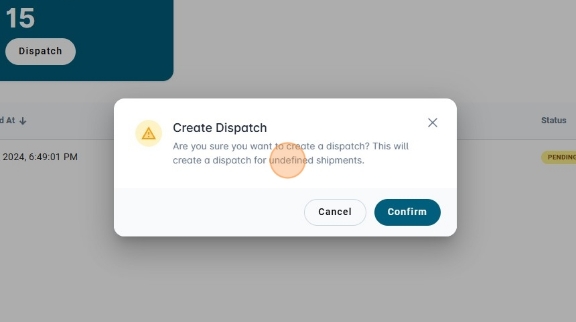
- Once you click
Dispatch, a confirmation dialog will appear. ClickConfirmto create the middle mile dispatch.
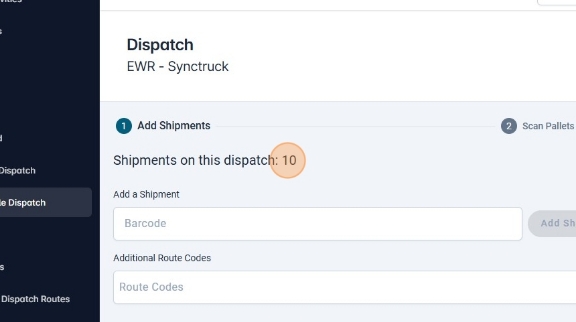
- The middle mide dispatch has three phases. The first one is the
Add Shipmentsphase. Here, you can see how many shipments are expected to be scanned in this dispatch. The amount of shipments at the beggining of the middle mile dispatch is the amount of shipments scanned aswarehousein the last 24 hours.
-
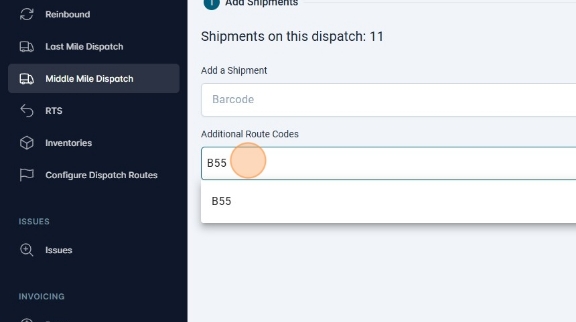
If you need to add a shipment to the dispach that has an old
warehousestatus, you can add it manually. Make sure that the shipments that you add manually have to belong to a route code served by the middle mile station according to the Dispatch Routes.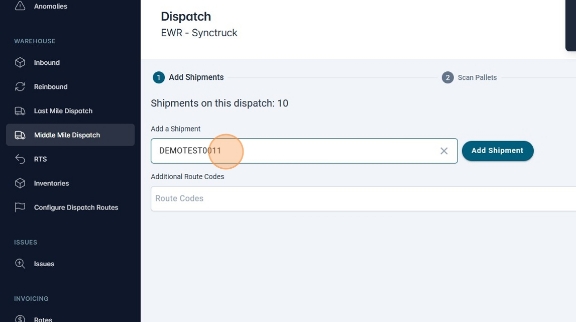
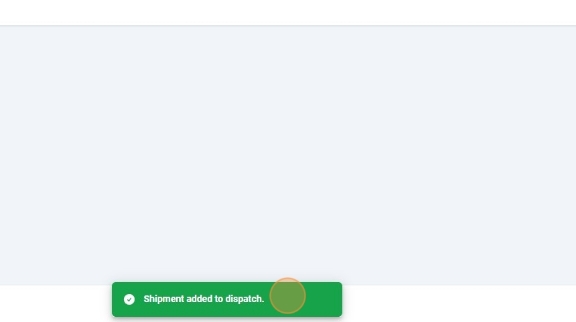
-
If the shipment was added correctly, the following message will appear.
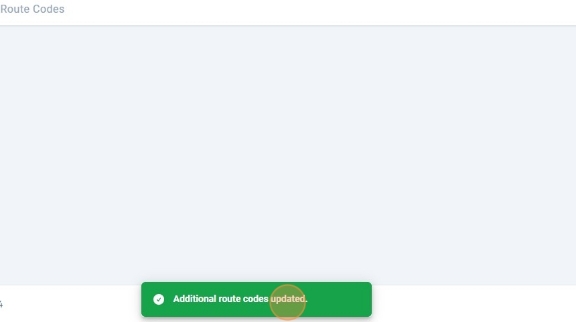
- If you want to add a shipment that does not belong to a route code served by the middle mile station, you can add the route code manually in the
Additional Route Codesarea.
- If the route code was added successfully, the following message will appear.
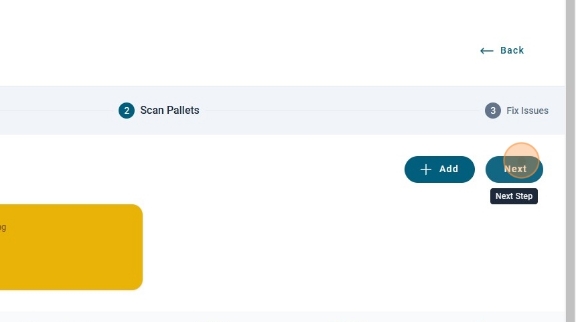
- Click next to start the scanning process.
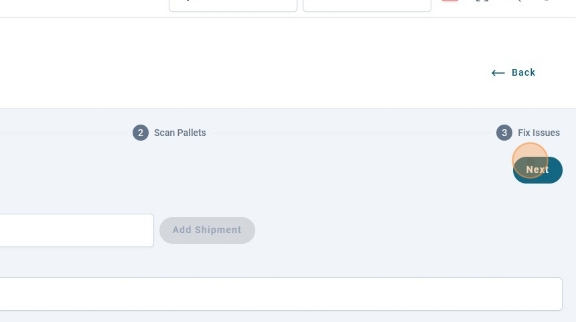
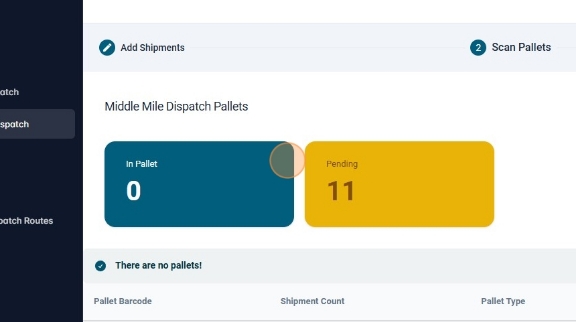
- The second phase is the
Middle Mile Dispatch Palletsphase. Here you can create the pallets that the shipments will be assigned to. Also, you can see the number of shipments that are already assigned to a pallet and the amount of pending shipments.
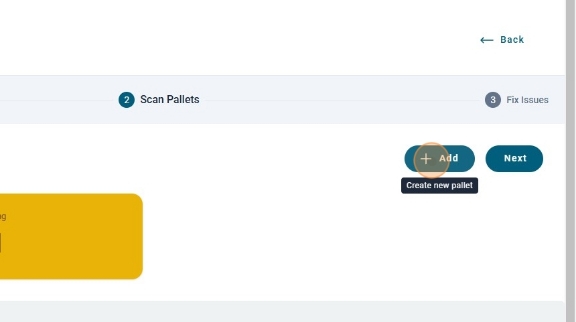
- To create a new pallet, you need to click the
+ Addbutton.
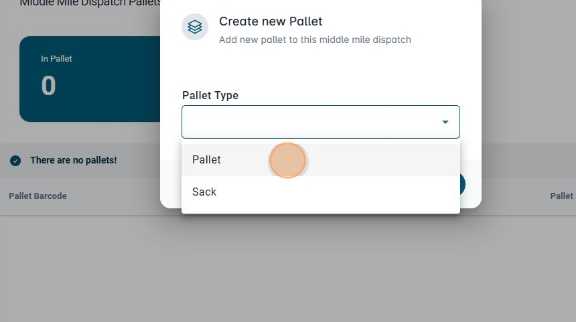
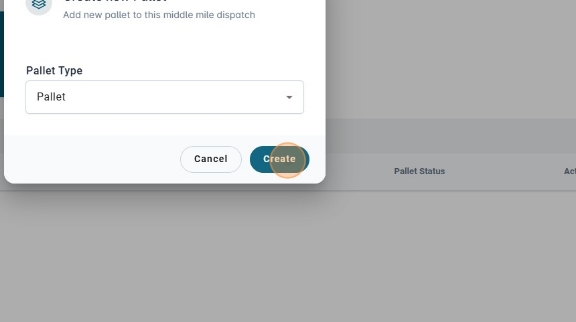
- A dialog will appear asking the information for the new pallet. You can select the pallet type, whether it is a sack or a pallet.
- Click
Create.
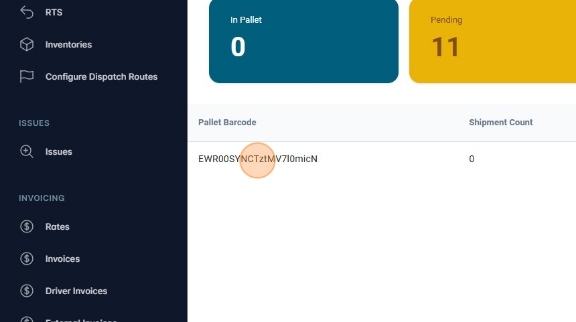
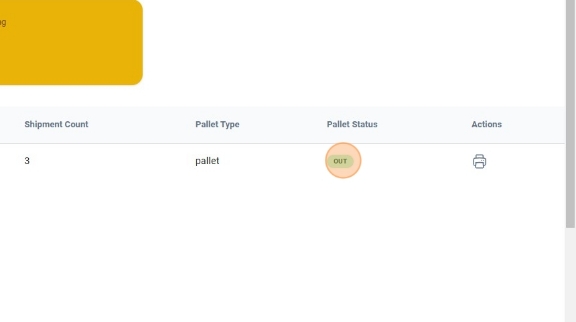
- A new pallet will appear on the table. You can see the pallet barcode, which is generated automatically, the shipment count, which initially will be zero, the pallet type and the status.
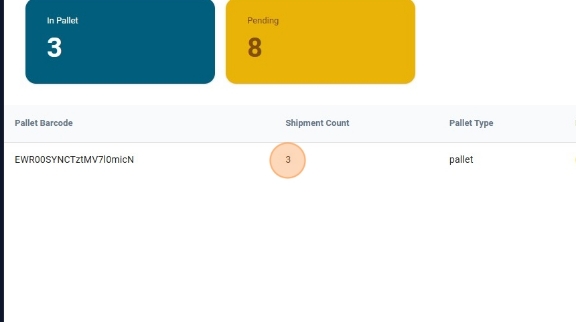
- Shipments are added to the pallet via picoville, the warehouse mobile app to scan packages. There you can see the new pallet and assign shipments to it. The shipment count of the pallet will increase as long as you assign shipments through picoville.
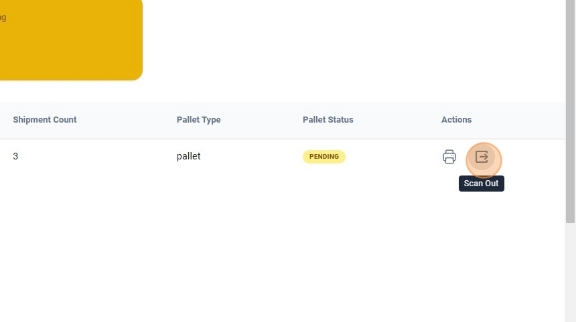
- Once the pallet has all the shipments that you need, you can mark the pallet as scanned out. To do so, you need to click the
Scan Outbutton in the actions column of the table.
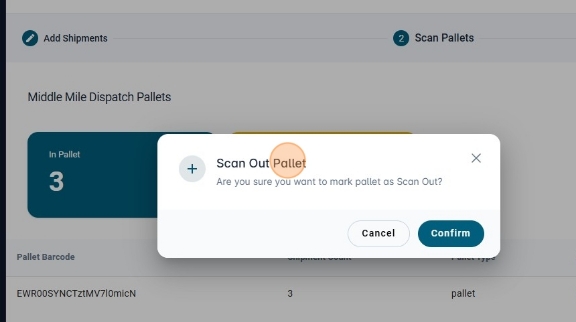
- A new confirmation dialog will appear. Click
Confirmto mark the pallet as scanned out.
- You can know if the pallet is scanned out if the status in the
Pallet Statuscolumn has theoutlabel.
- Once you marked all the pallets as scanned ou, you can move to the last phase.
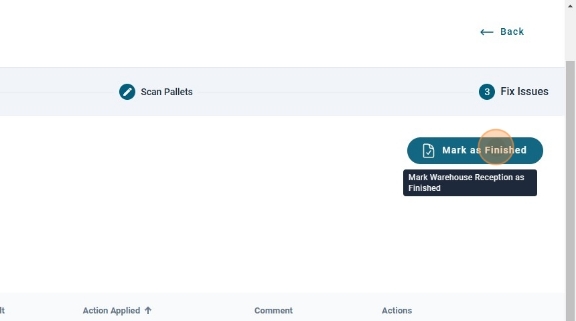
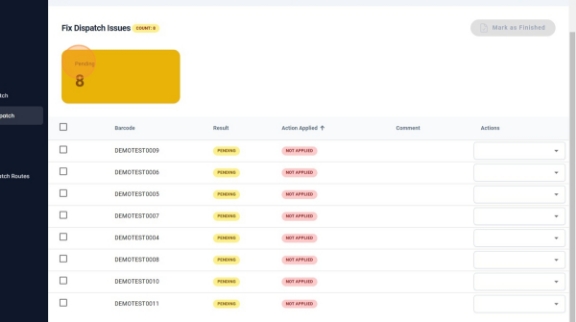
- The third phase is the "Fix Dispatch Issues" phase. If the middle mile dispatch didn't have any issues, this phase will be empty. Otherwise, you need to fix all the issues in order to finnish the dispatch. An issue here means that there is a shipment that was added to the dispatch that was not assigned to any pallet. There could be plenty reasons why a shipment was not assigned to a pallet.
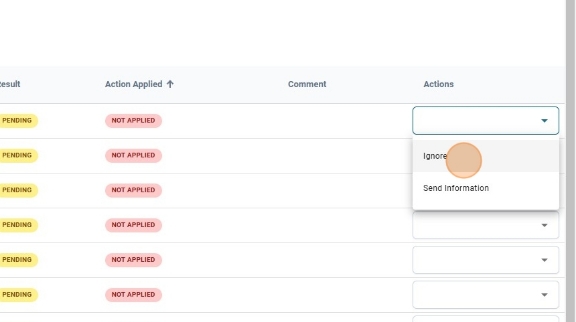
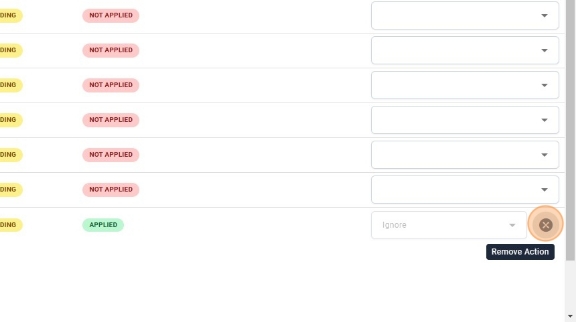
- The table with the pending shipments has a select input for each shipment that has an issue. The select input is for you to enter what is the action to solve the issue. In this case, you can select
IgnoreorSend Information. The ignore option will ignore the shipment and will not send the shipment information to any middle mile station. The Send Information option will create a pallet and assign the shipment to it automatically just to send the shipment information.
- Once you select an action to the issue, the issue will move to the last position in order to have the pending issues firts.
- You can also set the action for many issues. The left side of the table has on checkbox for each row. You can select some rows, or even every row, to set the action their action.
- Once you selected the rows you wanted, you can click the select input next to the title and select the option you want.
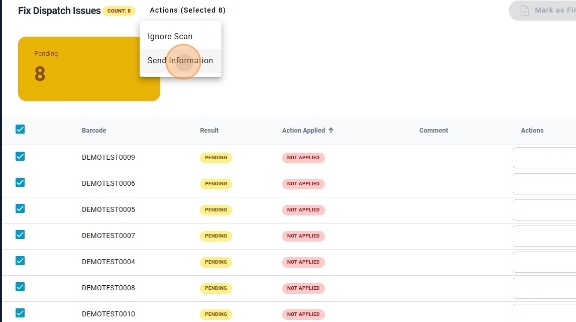
- A confirmation modal will appear. Click
Confirm.

- You will see that the rows in the table are now with the
APPLIEDlabel.
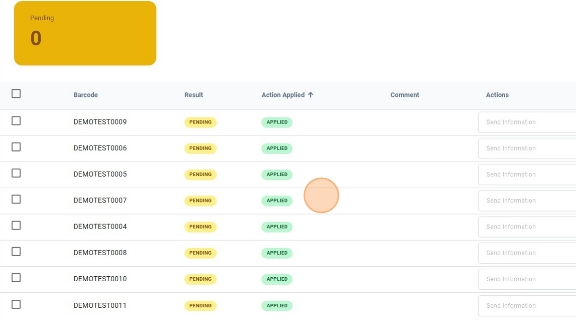
- Once all the issues are solved, you can click "Mark as Finished".